Gather all supplies and review instructions before beginning.
(Click Image to Enlarge)
Step 2:
Bring into your cutting machines’ design board the Hello Summer Sunflower SVG design file. Cut. Measure application area on the watering can. Resize to fit the application area on the front of your watering can. The application area of the watering can used in this tutorial is approx. 3.5” x 4.5”. Design resized 3.5” x 4.5” .
(Click Image to Enlarge)
Step 3:
Edit cut Hello Summer Sunflower SVG design in 3 parts. Release compound path ( ungroup) and move the wording and inner half-circle from sunflower petals. Regroup the sunflower petals and move off the mat grid. Regroup wording. ( Refer to your cutting machine's instruction manual if needed)
(Click Image to Enlarge)
Step 4:
Prepare vinyl onto cutting mat. Cut the half circle and wording using black vinyl. Move the wording and half circle off the mat grid. Move the sunflower petals back onto the mat grid and cut using the yellow vinyl.
(Click Image to Enlarge)
Step 5:
Weed all three cuts for a decal.
(Click Image to Enlarge)
Step 6:
Remove adhesive back from half circle and center into sunflower petals lining it up to the top edge of design.
(Click Image to Enlarge)
Step 7:
Apply transfer tape onto both decals.
(Click Image to Enlarge)
Step 8:
Remove adhesive back from the sunflower petals. Center and apply to the watering can application area. Finger press and smooth. Pushing out any air bubbles. Work from the center out. Carefully remove the transfer tape.
(Click Image to Enlarge)
Step 9:
Remove adhesive back from the wording. Center and apply onto the watering can above sunflower petals. Remove transfer tape.
(Click Image to Enlarge)
Step 10:
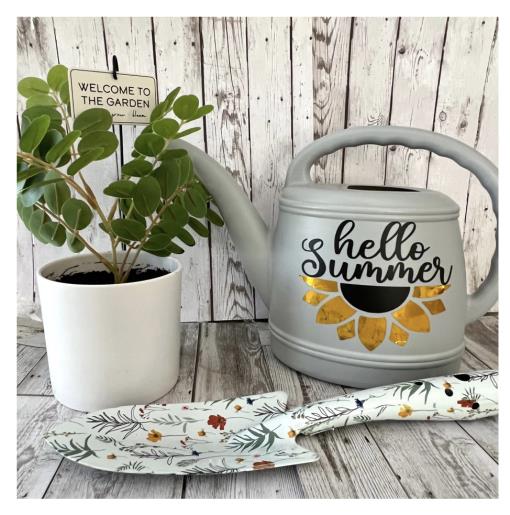
And you are done! Great job! Say Hello Summer with this garden staple!